Edit a post or page
Suggest editstl;dr
- Use the “Suggest Edits” link on an existing page or click here to add a new page.
- Write/edit in Markdown using GitHub’s web-based text editor.
- Keep clicking the big green buttons until your pull request is created.
The long version
Not only is the code for this site open source, the content is too. Anyone in the Hacks/Hackers community can propose a new post or suggest edits to an existing one by opening a pull request on GitHub.
All you need is a GitHub account. This doc uses GitHub’s web-based text editor, but you can always use your local machine if you’d prefer.
Note: These instructions refer to editing blog posts and other About/Resources pages like this one. To add or edit a group, check out this doc.
Creating a post or page
Fork hackshackers-hugo-content (there’s a button in the top right corner).
In your new repository, click the “Create new file” button. (see below re: directories and URLs Next you’ll see GitHub’s text editor, which lets you write and preview Markdown.
When you’re ready, click “Create new file”. (It’s safe to commit directly to the master branch within your own fork.)
Then go back to the root of your fork of the repository, and click “New pull request”.
(jump to Your Pull Request)
Editing a post or page
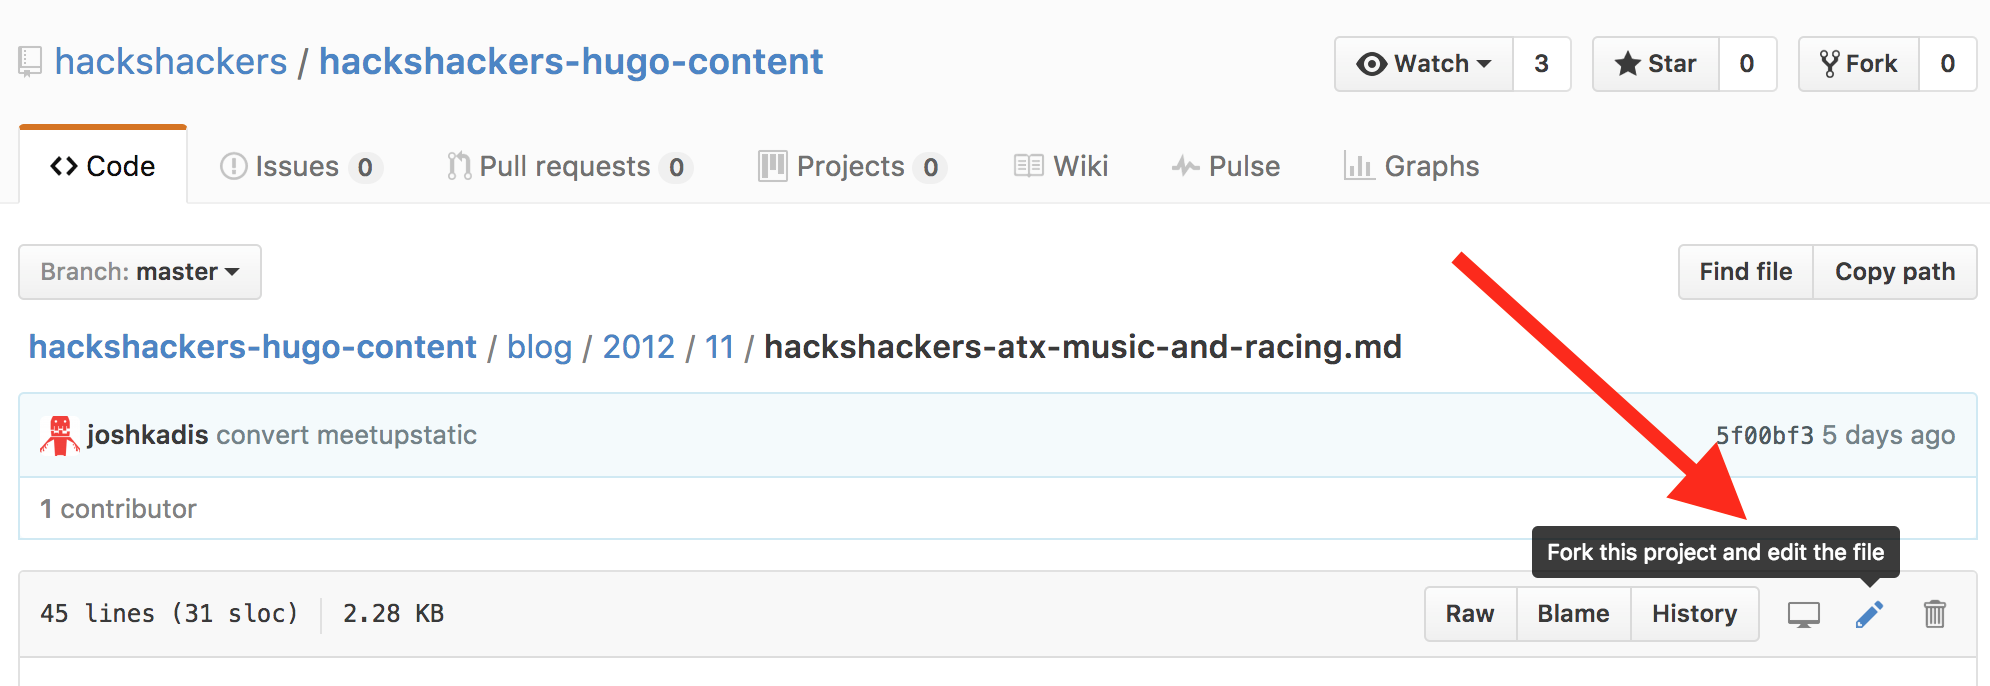
Individual pages like this one have a big link labeled “Suggest Edits” below the page title. Click it! GitHub will prompt you to fork the repository and propose changes. Or you can browse the repository to find the page you want to edit, then click this link:
Make your edits and click “Propose file change”.
Your Pull Request
You’ll see a dialog like this to review your changes and confirm that you really do want to create a pull request.
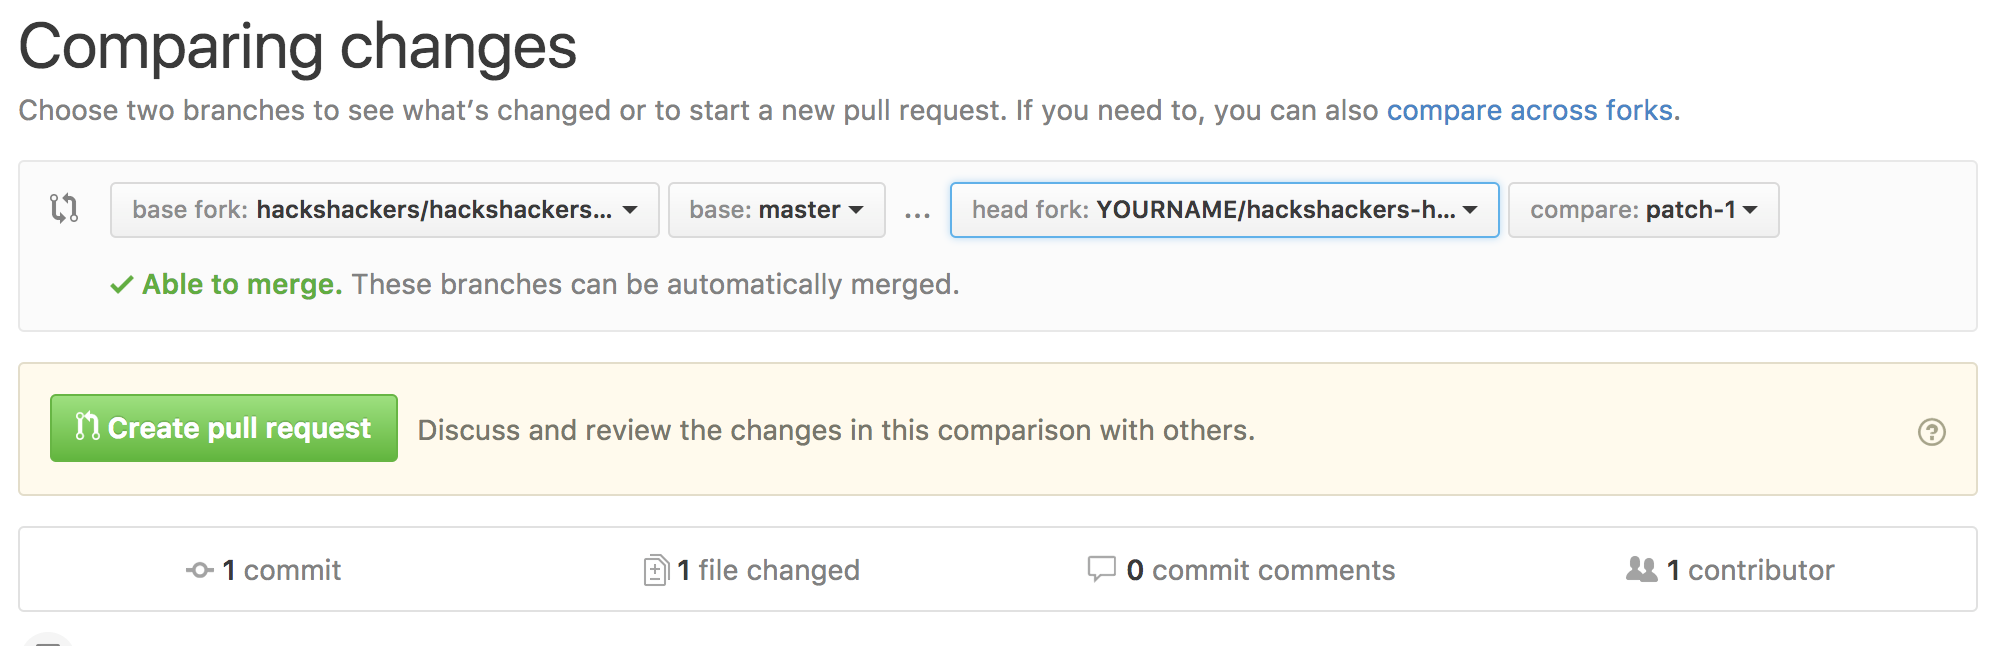
Click “Create pull request” and proceeed to the next screen. You can give your PR a title and description before making it official.
Now, one of the site editors can review your proposed changes and merge them back into the original repository. Keep an eye out for email notifications from GitHub regarding your PR.
Note: directories and URLs
Hugo determines the post’s URL (by default) using the location of the source Markdown file. So if you’re writing a blog post in July 2017, your file blog/2017/07/my-post.md would become http://hackshackers.com/blog/2017/07/my-post/
Conveniently, GitHub’s text editor lets you place your new file in whatever directory you want by typing a /:

Note: embedding images and other media
Once you have forked the repo, you can add images directly through GitHub using the “Upload files” button. Importantly, you have to navigate to the directory where you want the files before you upload them. In our case, that is somewhere inside the content-images directory.
To embed the image in an article, the simplest way is:

To get fancier, use the Hugo {{< figure >}} shortcode:
{{< figure link="https://foo.bar" src="/content-images/path/to/my/image.jpg" caption="This is super cool" >}}
There are lots of other Hugo shortcodes for Twitter, YouTube, and more.
We also have a custom {{< iframe >}} shortcode that accepts src and CSS width/height.
{{< iframe src="https://foo.bar" width="100%" height="300px" >}}
Adding a featured image
It’s possible to add a featured image to a page by includig its information in the metadata of the page. The following two parameters must be added to include a featured image: image: The URL to where the featured image is hosted image_caption: This is the caption that should appear beneath the featured image.